Create an automation
Build an automation from a quick-start template or from scratch — choose a trigger, add steps, save and activate.
Who can do this: Owner and Admin by default (the "Automations & flows" permission)Plan: All plansTime: 5–10 minutes
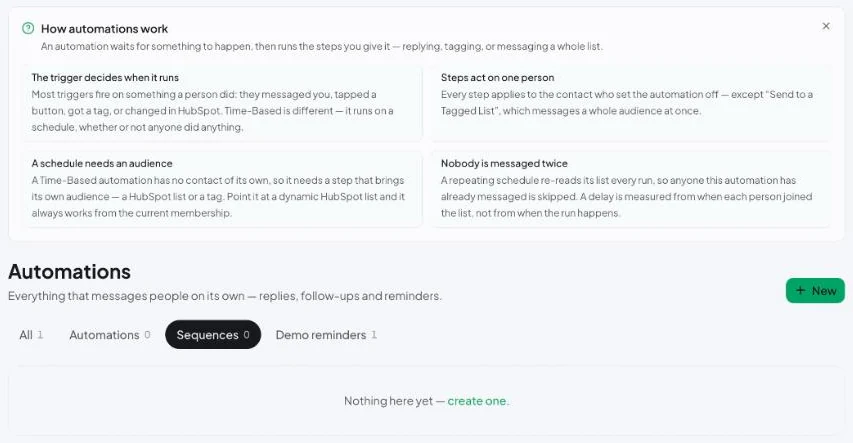
Start from a quick-start template
- Go to Automations.
- Under Quick-start templates, pick one:
– Welcome Message — greets first-time contacts.
– Out of Office — replies outside your working hours.
– Lead Qualifier — asks a question and tags the lead.
– Follow-up Reminder — waits, then sends a reminder.
– HubSpot templates: Welcome new HubSpot leads, Follow up on new deals, React to deal stage changes, Nudge a HubSpot list on a schedule. - The builder opens with the trigger and steps filled in. Change the text, tags or template to fit your business.
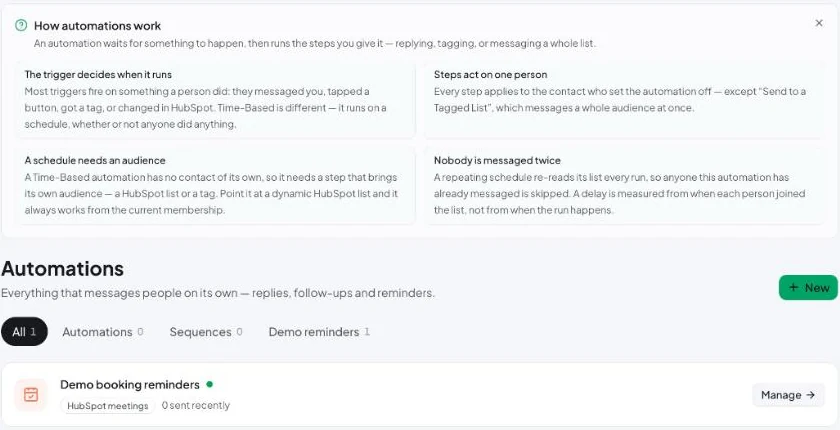
Build from scratch
- Click New (or Create Automation).
- Give it a name, e.g. Tag pricing enquiries.
- Under Trigger, choose a Trigger type. See Automation triggers.
- Fill in the trigger’s settings — for example the keywords and the Match type for Keyword Match.
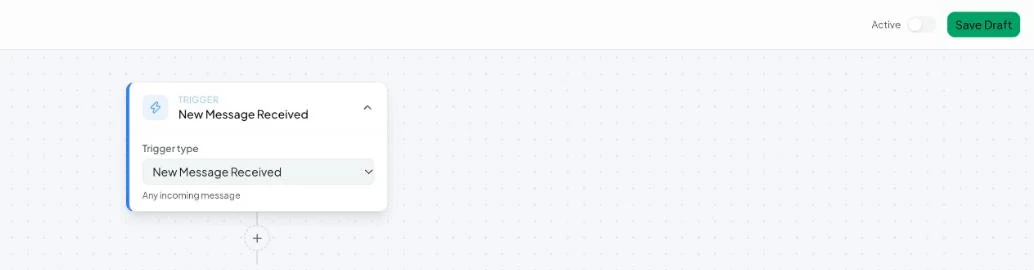
- Click Add step and choose what should happen. Add as many steps as you need. They run top to bottom.
- To branch, add a Condition (If/Else) step and put steps under Yes and No.
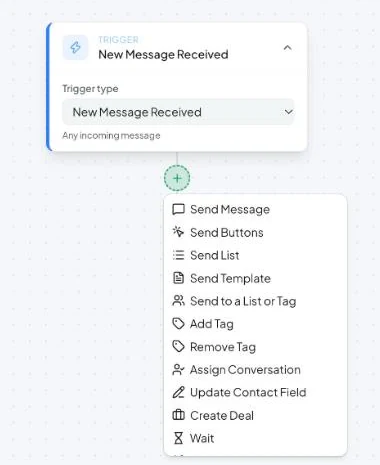
- Click Save Draft to save without running it, or switch Active on and click Save.
Activate, pause, duplicate
From the list, open the ⋯ menu on an automation:
- Activate / Deactivate — turns it on or off. Nothing runs while it’s off.
- Edit — opens the builder.
- Duplicate — makes a copy, handy for a variant.
- View Logs — see every run. See Automation logs.
- Delete — permanently removes it and its history.
A worked example: tag and assign pricing enquiries
| Part | Setting |
|---|---|
| Trigger | Keyword Match, keywords price, pricing, cost, rate, match type Whole word |
| Step 1 | Add Tag → pricing |
| Step 2 | Assign Conversation → mode Round-robin |
| Step 3 | Send Message → “Thanks! Someone from our team will share the prices shortly.” |
Test with your own phone before activating for everyone: send the keyword from a personal WhatsApp number and check View Logs.